Replace a Gray Sky with a Blue Sky in Seconds (Photoshop Tutorial)
Replace a Gray Sky with a Blue Sky in Seconds (Photoshop Tutorial)
Published on: July 9, 2025 | By: Admin
Ever taken the perfect shot only to find the sky looks dull and gray? Don’t worry — with Photoshop, you can instantly swap that gloomy sky for a bright, clear blue one.
Why Replace the Sky?
- Improve the mood and impact of your photo
- Ideal for real estate listings, travel shots, or portfolios
- Boosts visual appeal without reshooting
Step-by-Step: Replace a Gray Sky with a Blue One
- Open your image in Adobe Photoshop.
- Go to Edit > Sky Replacement.
- Choose a default blue sky or click the “+” icon to add your own.
- Adjust the lighting, edge fade, and color matching to blend naturally.
- Click OK and you’re done!
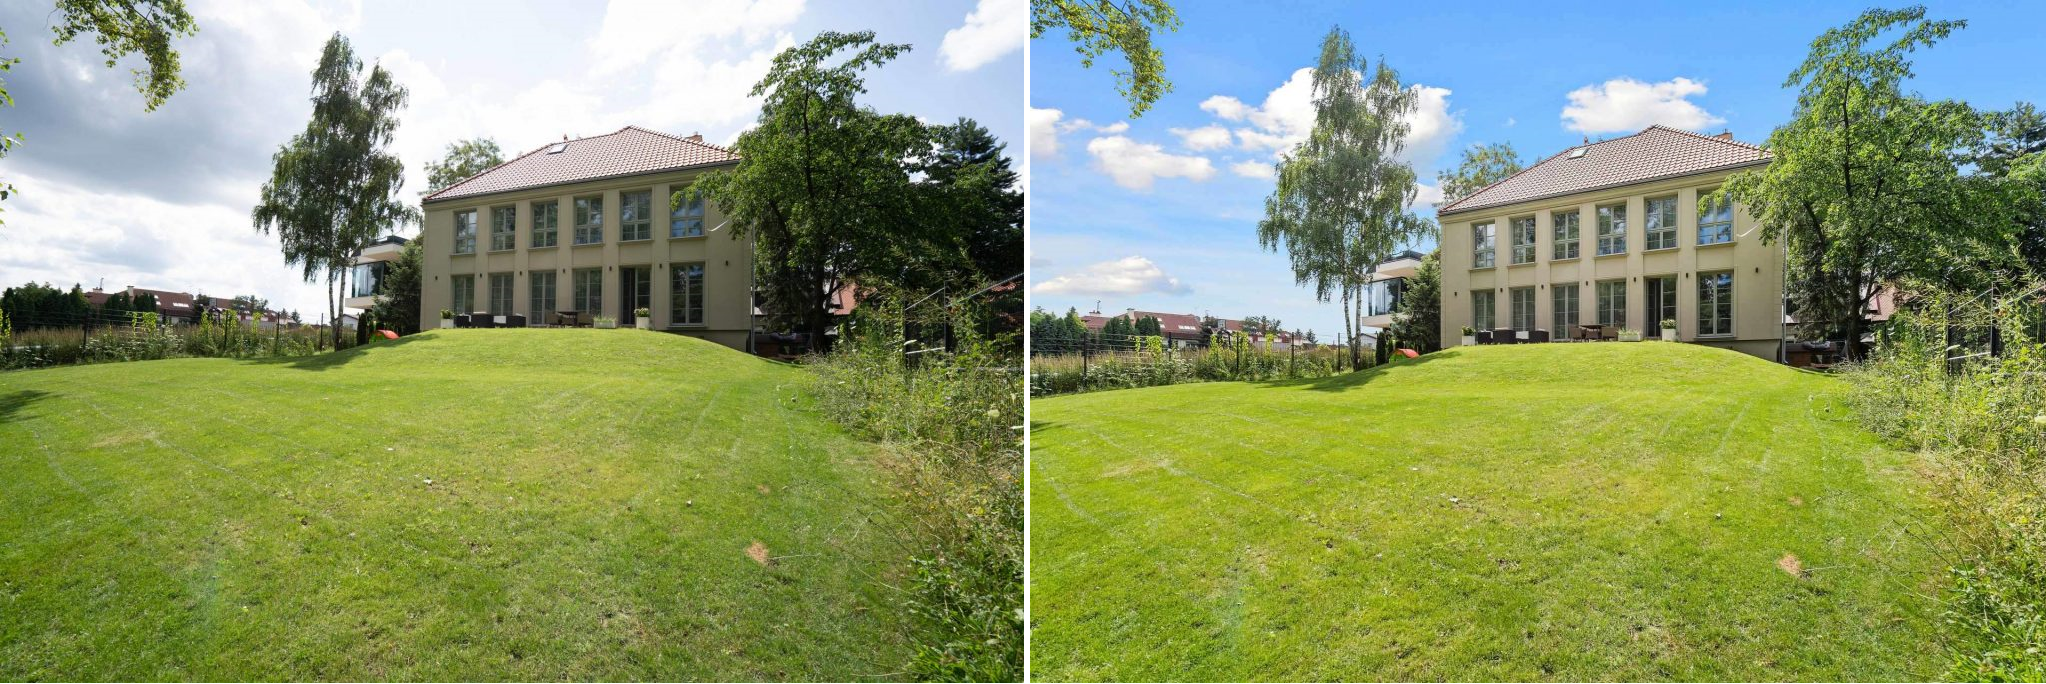
Before and After Example
Here’s a quick preview of what a sky replacement can do:
Pro Tip
Use high-resolution sky images for best results. You can download free skies from websites like Unsplash or Pexels.
Conclusion
Replacing a gray sky with a stunning blue one is easier than ever with Photoshop’s Sky Replacement feature. Give it a try and watch your photos come to life!
0 Comments