How to Use Photoshop for Real Estate Photo Retouching
How to Use Photoshop for Real Estate Photo Retouching
Published on: July 8, 2025 • Author: Eric Nguyen
Why Retouch Real Estate Photos?
High-quality real estate photos are essential to attract buyers and boost listing views. Photoshop gives you full control to correct lighting, remove distractions, and make a property look more appealing—without misleading viewers.
Essential Photoshop Tools for Real Estate Editing
- Camera Raw Filter: Adjust exposure, contrast, and white balance quickly.
- Clone Stamp & Healing Brush: Remove wires, stains, and small objects.
- Lens Correction: Fix distortion from wide-angle lenses.
- Layer Masking: Blend skies or replace backgrounds seamlessly.
- HDR Merge: Combine multiple exposures for balanced lighting.
Step-by-Step Real Estate Photo Retouching in Photoshop
1. Import and Open the Image
Start by opening your RAW or JPEG file in Photoshop. If you’re using a RAW file, make adjustments in the Camera Raw module first.
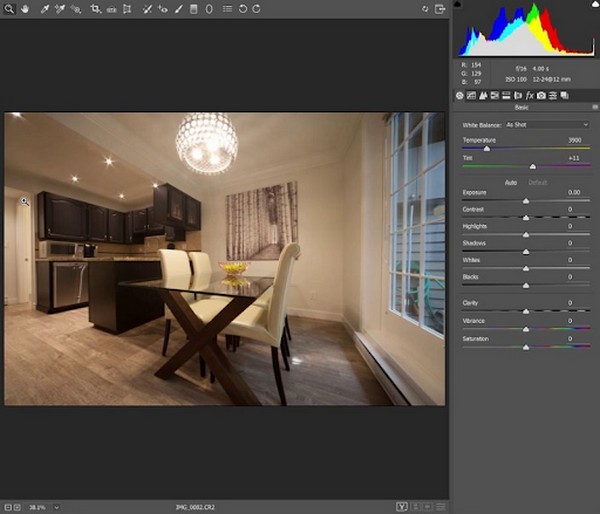
2. Adjust Basic Exposure and White Balance
Use the Levels or Curves tool to balance highlights and shadows. Set accurate white balance using the eyedropper tool on a white surface (like a wall or ceiling).
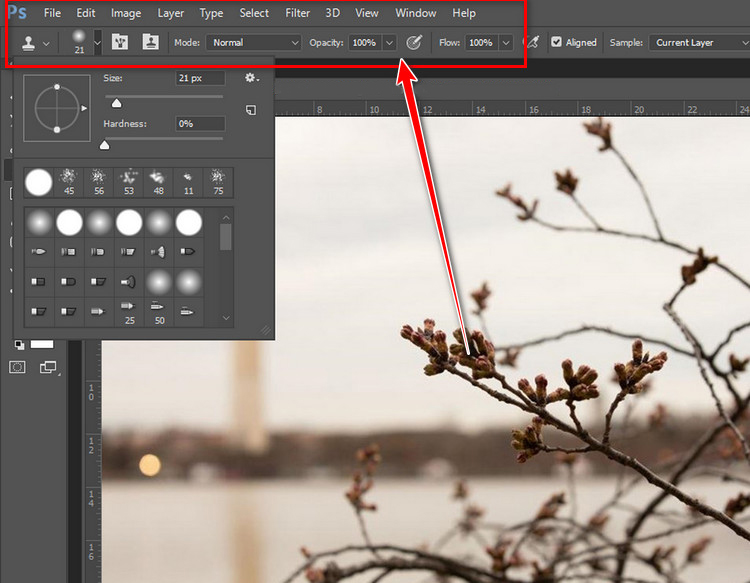
3. Remove Unwanted Objects
Use the Clone Stamp Tool or Content-Aware Fill to remove power lines, sensor dust, or personal items that shouldn’t be in the photo.
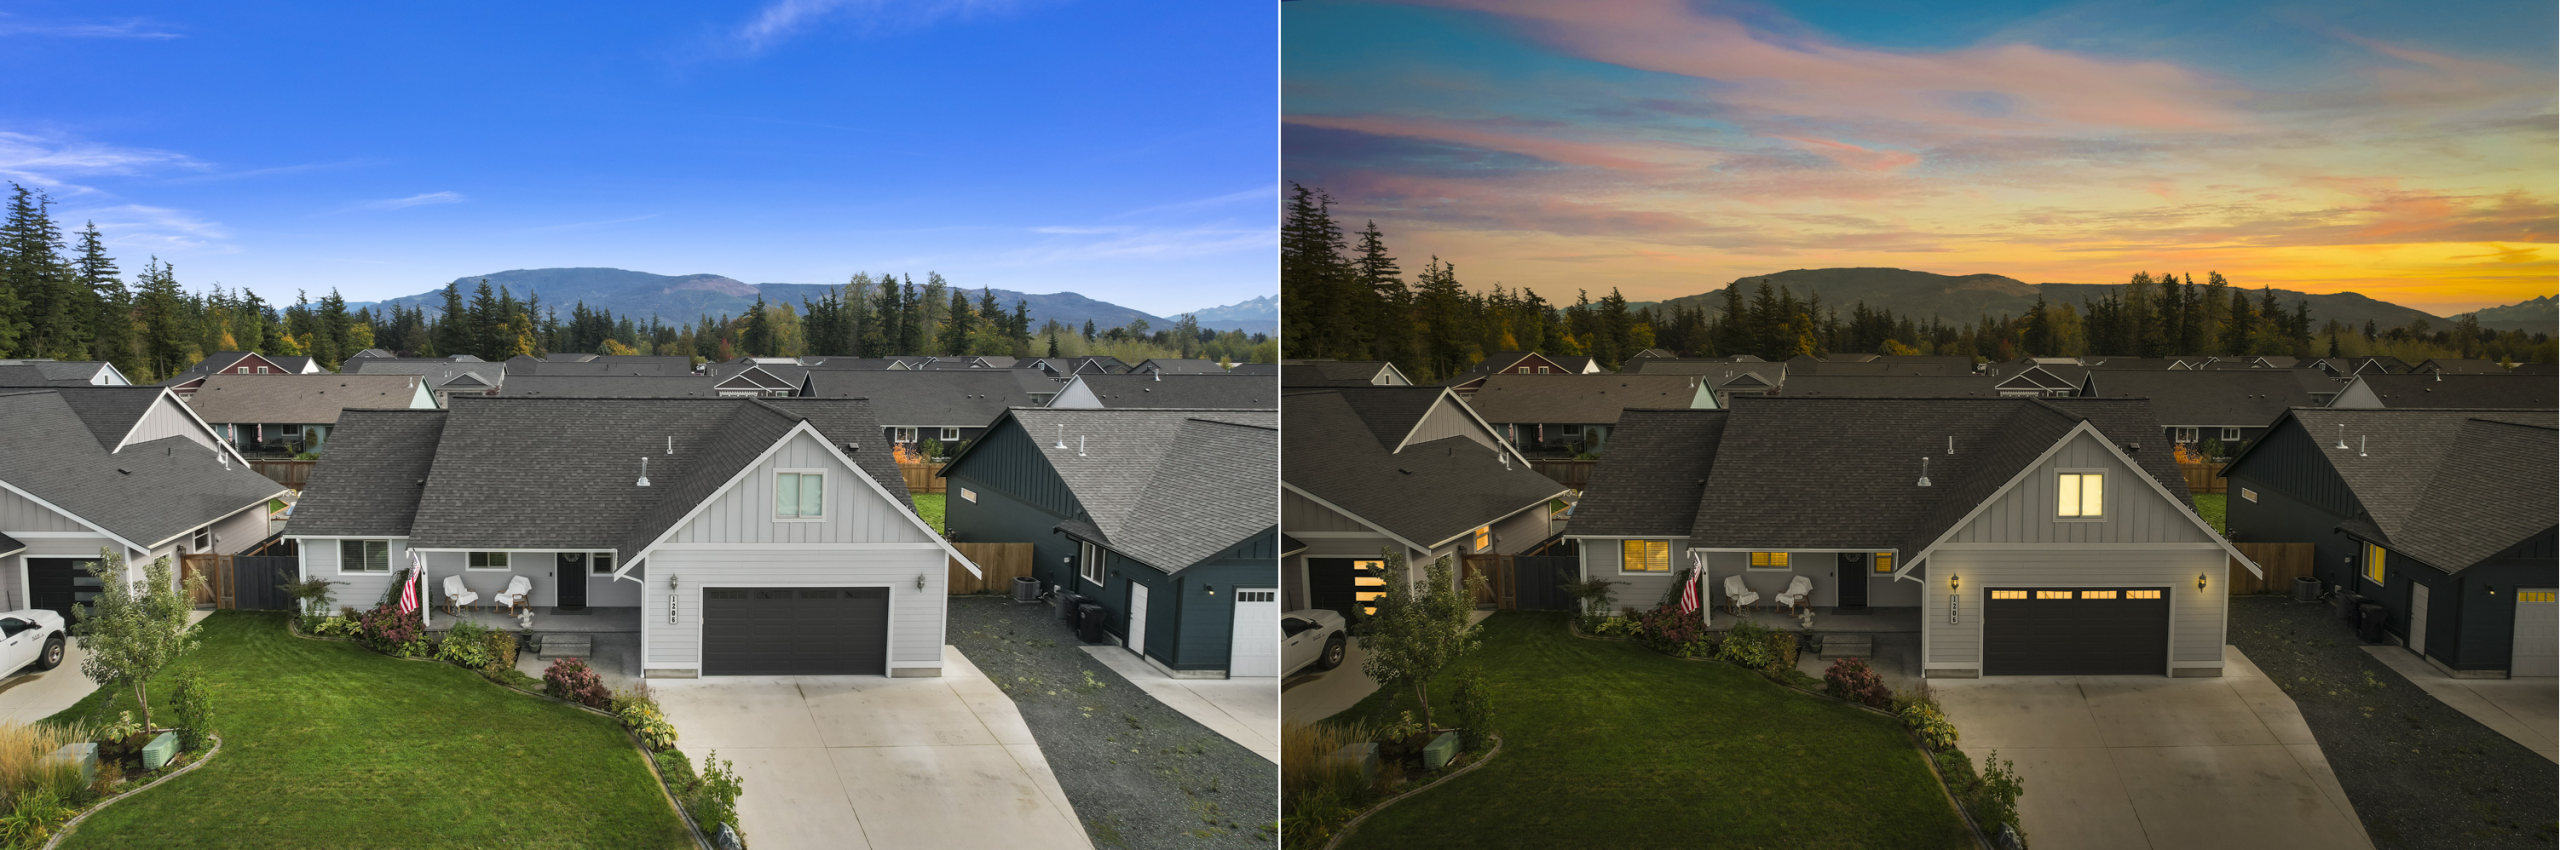
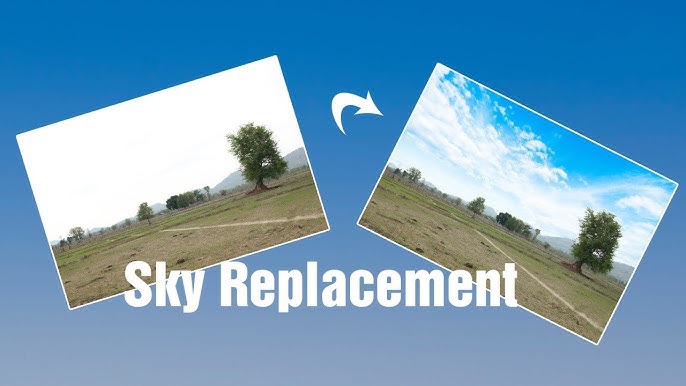
4. Replace the Sky
A dull sky can make a great property look lifeless. Use Select & Mask or AI-powered sky replacement to swap in a more vibrant sky image.
5. Correct Lens Distortion
Go to Filter > Lens Correction and select the appropriate camera/lens profile to straighten walls and ceilings. This is critical for architectural accuracy.
6. Sharpen and Export
Finish up with Smart Sharpen or High Pass Filter for added clarity. Then export as JPEG with high quality, keeping resolution optimized for web or print use.
Bonus: Batch Processing for Speed
If you have dozens of images, save time with Photoshop Actions and Batch Processing. Automate repetitive tasks like resizing, color correction, and watermarking.
Conclusion
With just a few Photoshop techniques, you can turn average real estate photos into eye-catching visuals that help listings sell faster. Practice makes perfect, and once you master these basics, your workflow will be faster and more effective.
Need help with editing? Contact our professional team for affordable and fast turnaround real estate photo retouching.
1 Comment
Daniel Venter · July 9, 2025 at 2:17 am
Great tutorial! Clear, practical, and really helpful — thanks for sharing your Photoshop skills!